How to Turn a Simple Tree Into an Impressive Dining Table
22.09.2020
There is something so special about crafting a table from scratch. Or in this case, from a tree.
It’s where hobby and utility collide, creating a statement piece of furniture that’s also functional. Turning a simple tree into an impressive dining table (or coffee table, or side table) is a project well worth putting time into.
A wooden table has character, can be passed down generations and is often cheaper to make yourself. This is how it’s done.
Finding the Right Tree
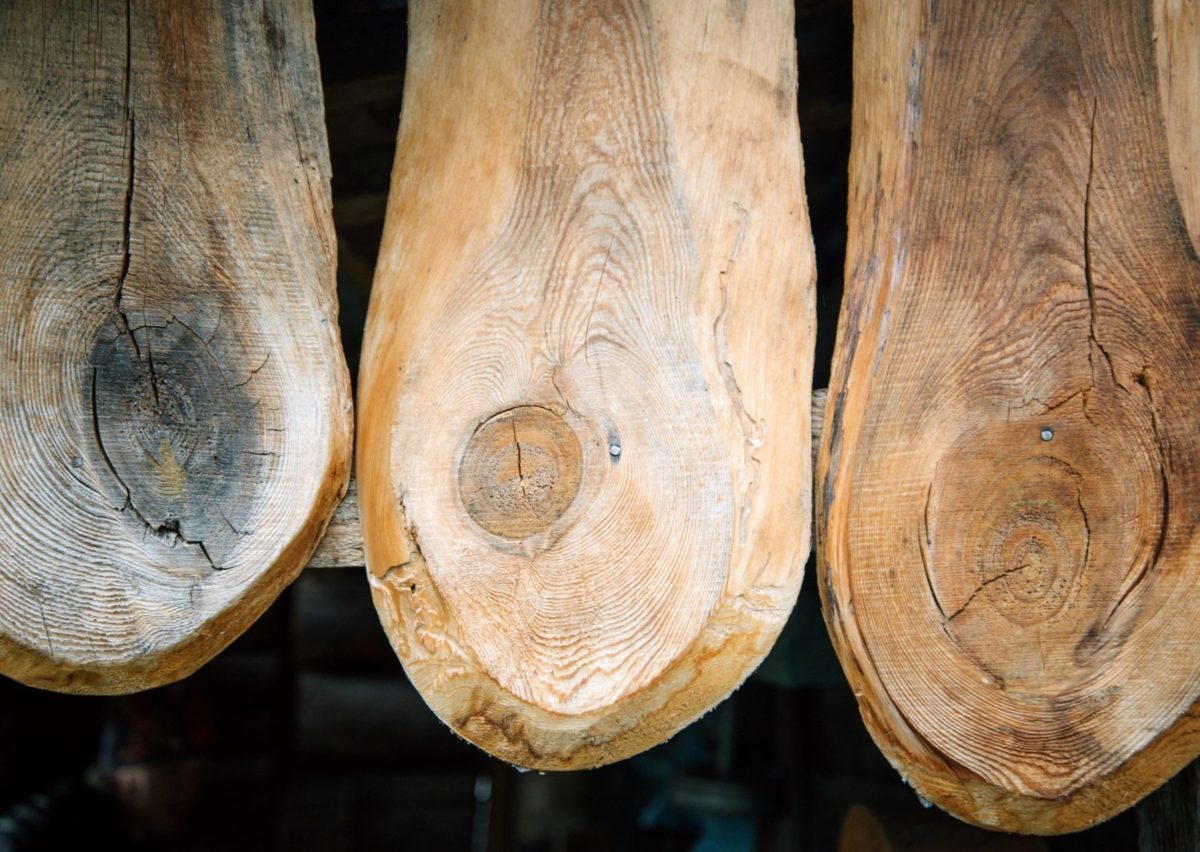
If you have access to land and lots of trees, you can go out with your chainsaw and cut yourself a slab. This might look like making ‘cookie’ slices by horizontally cutting into a tree trunk for a circular slab.
You want your wood to be at least 2 inches thick to start with. Often if the wood is warped or twisted, you need to shave off a lot of thickness to achieve a flat surface.
If you don’t have access to trees, you’ll need to hunt around for the wood you want. Pay attention to the grain, shape and size as these are what will affect the finished look. But remember, you can always join pieces together to form a larger shape.
Seasoning Your Wood
If your wood is still green, that means it’s wet.
Wood shrinks and swells depending on the moisture content so seasoning wood (the ageing or drying process), is an important step. Seasoned wood is stronger, lighter and therefore easier to transport. It’s also easier to machine with and glues, stains and paints will all last longer.
That said, you can work with green wood to start, but then wait at least a year before applying polyurethane or any kind of varnish. Wood can take anywhere between 1 to 3 years to dry out naturally, or it can kiln-dried over a few days.
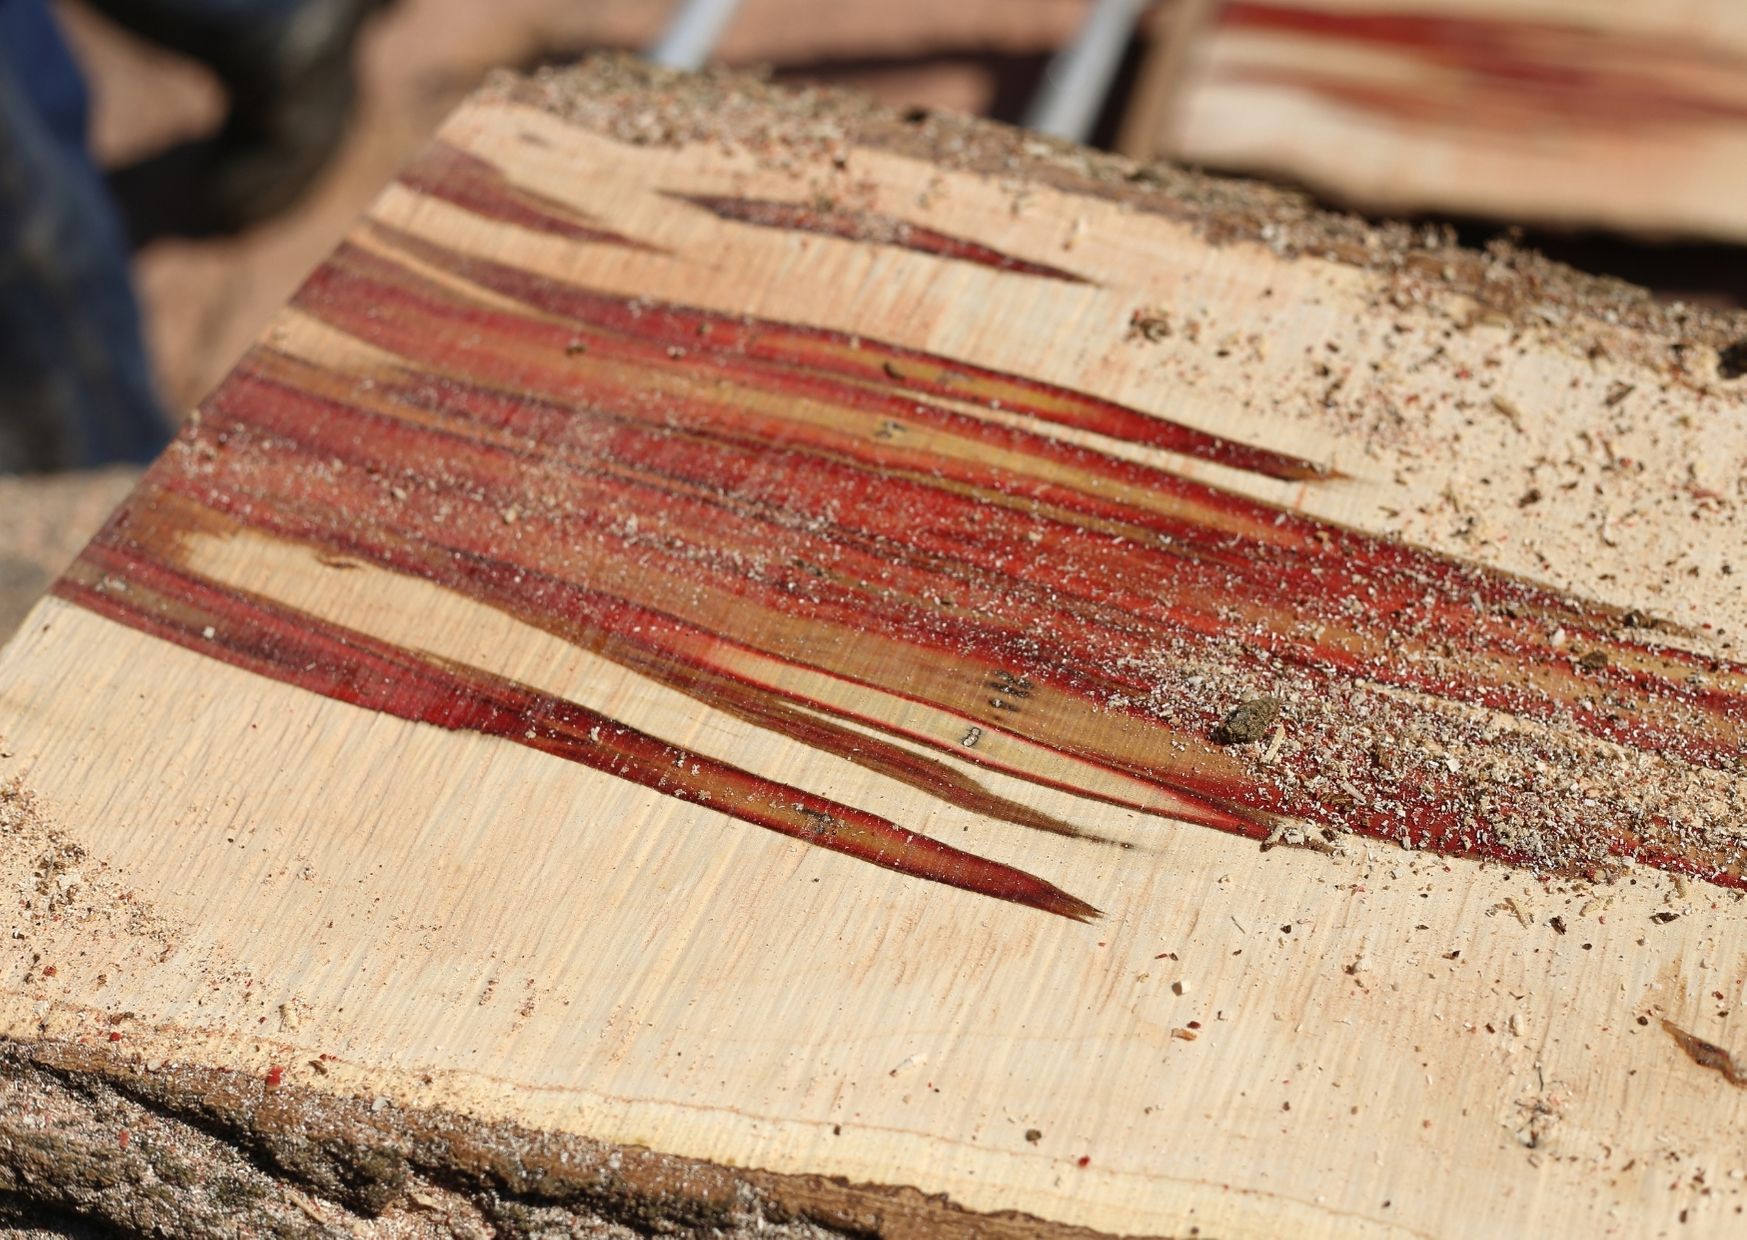
Slab Milling
Slab milling is milling a flat surface using a cutter, in this case a surface planer, to create an even, flat slab.
For any router flattening project, you want to use a surface planer like this one in a router to run over your wood. The surface planer router bit is a tool that can remove a fraction of an inch from the surface of a material or can also cut to a larger depth. The width of the surface planer will give you an idea of how many passes you’ll have to make to cover the entire slab.
To ensure stability when running over the slab, put together a router flattening jig as you can see in this video. It’s basically scaffolding above your slab to hold your router in place while you run the surface planer over it. For the jig, all you’re really making is a sled for your router to ride on above the slab. The sled sits on rails that run on either side of the slab.
With any slab milling, expect a lot of dust. You’ve been warned.
Using the Right Tools
The benefits of using a surface planer are that you’ll achieve a more professional look as the wood comes out so smoothly and evenly. This way you can also ensure a level surface, which is important for a table to work functionally.
Surface planers allow all of the wood grain and the pattern to shine through, an added bonus for this centrepiece you’re creating.
Take a look at our surface planer range so you can tackle this DIY project knowing you’re using the right tools, carbide-tipped for strength and well-equipped for the job.
If you’re feeling confident with table making, your next project could be incorporating resin for a river table.